
Stylish Purse in Russian Fashion
My home library contains a lot of Russian books some of which are dedicated to handy craft. I bought these books in Moscow many years ago. The Russians try hard to preserve the tradition of sewing, crocheting, knitting and other needle-and-thread crafts, and I simply adore their lace, special occasion designs and their original creations.

There
was just one beige purse like this missing in my collection of bags.
I've been getting ready for my summer holiday these days, and so I chose
to treat myself with a simple evening sling bag from the book "Purses
and Bags for all Occasions" (Кошельки и сумки на все случаи жизни).

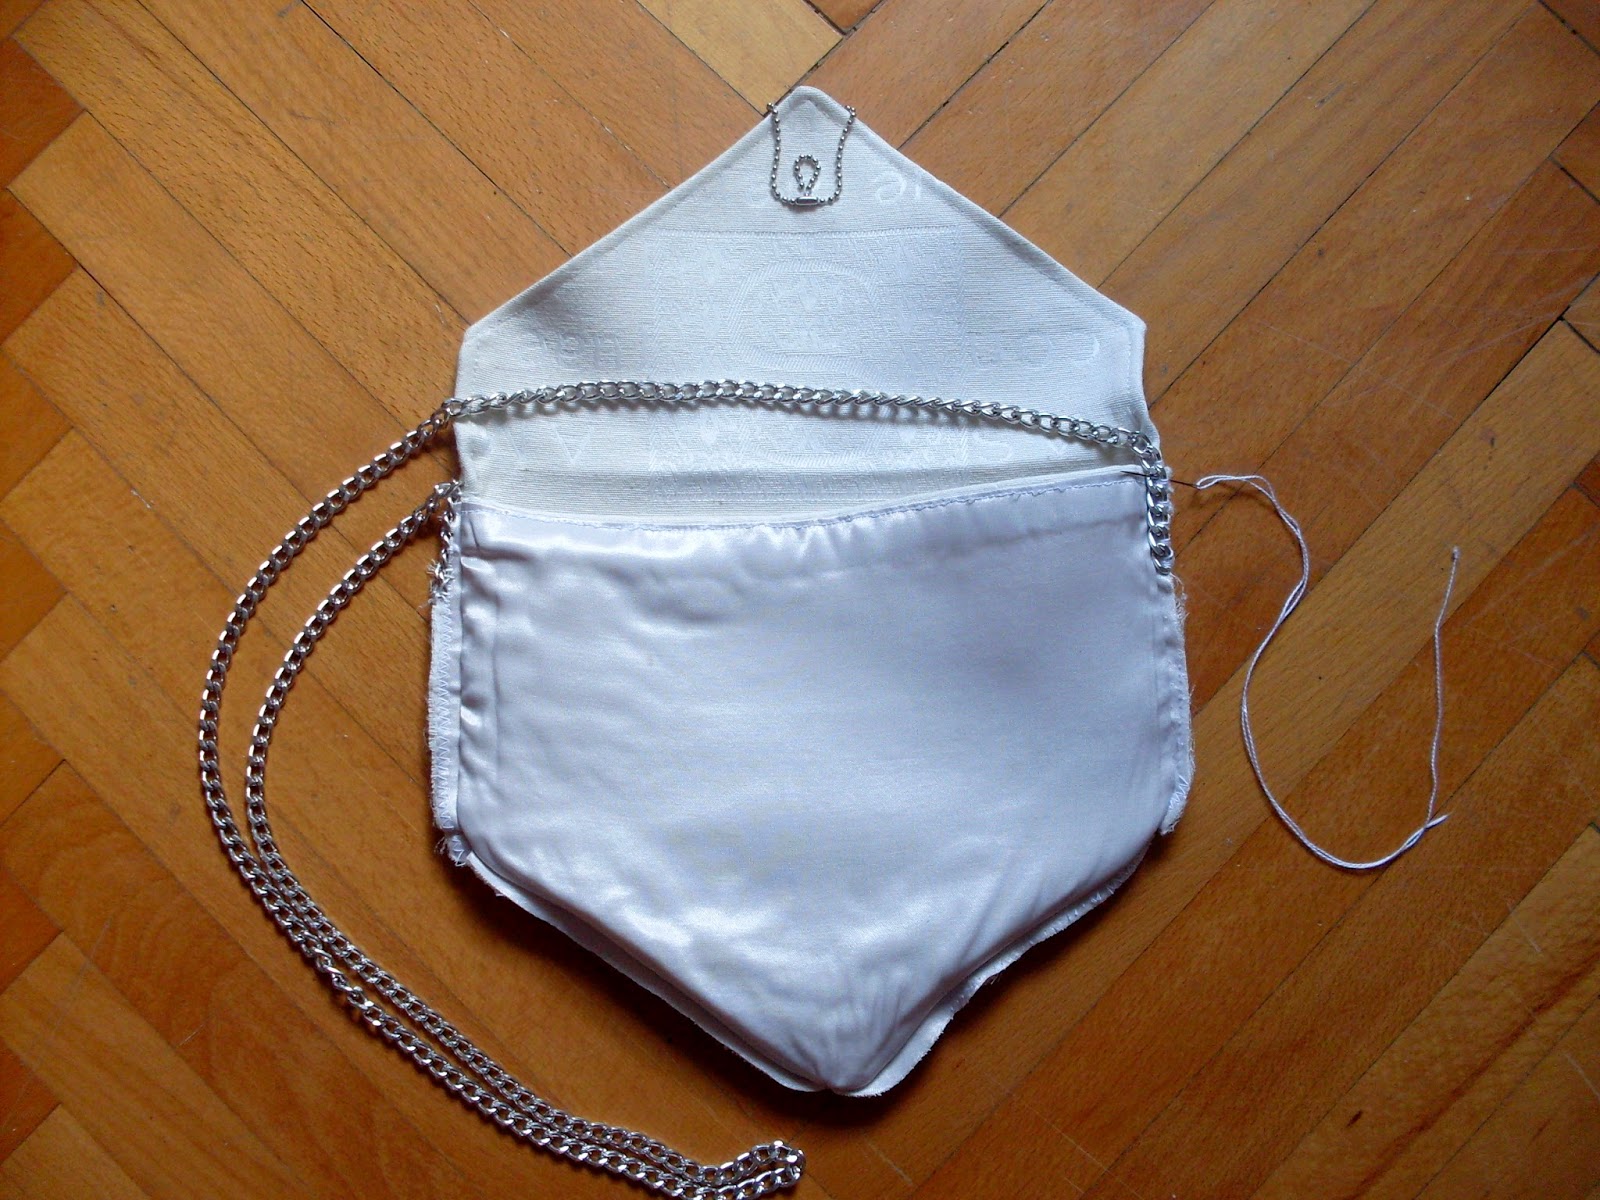
My
most often choice of fabrics are the ones with letter prints, either
printed or weaved in the fabric, just like this piece of decor material
with Latin script motifs.
The
purse is big enough to fit a wallet, a phone and a few necessary bits,
yet, small enough to take with you in a special occasion or at any other
time
when you don't need a huge bag.
The finished measures are 25.5cm x 22cm.
Original design proposes 3 versions, one prettier than the other.


My
first idea was to decorate the purse with beads and tassels, but my
imagination drifted me away, so it got metal decorations instead.
The
best thing about this project is that it doesn't cost a dime - I used
anything I found at home: an unworn, 3-piece necklace chain, which came
along with a dress I once bought, the remains of old decor and lining
fabrics, some old, useless chains and buckles that dragged around the
house for long.
Materials:
- the remains of decor fabric in colour beige (about 1m long and 0.5m wide)
- the remains of lining fabric of the same colour and dimensions
- white fusible interfacing
- 3 metal chains in different sizes - 115, 100 and 90cm
- 1 short chain to close the buckle
- 1 halter buckle (of course, if you don't have such a buckle, you can attach a metal button)
- needle and thread
- embroidery thread and blunt needle
- sewing machine
- scissors
- paper, ruler and a pencil to draw the pattern
Drawing the pattern:
 |
| Додајте натпис |
According to the picture on the left, draw a shape like this in the following dimensions:
AB (and CD) =20cm
AC (and BD) = 25cm
EF = 40cm
GC (and HD) = 14cm
Transfer the pattern onto the fabrics and mark all the dots as well as the dashed line GH - from that line down you will cut the front panel; you will use the whole pattern to cut the back panel. When the purse is finished, the part above the dashed line will be folded at the front to form the lid.
Cutting:

Cut the back piece once from decor, lining and interfacing, leaving 2cm seam allowance (except with the interfacing which you will cut without seam allowances)
Cut the front piece once from all 3 fabrics with the same seam allowances as for the back piece.
Using iron press the fusible interfacing to the wrong sides of front and back panels which you cut from decor fabric.
Sewing:

Cut
of the seam allowance leaving it about 0.7cm wide. Cut the corner seam
allowance horizontally. Press the seams open, turn over to the right
side, press and machine stitch close to the edge.
2.Repeat the same process with the front panels.


* * *
3.
Stitch all the edges (except the upper horizontal one) of the 2 front
layers together using a zigzag stitch. Do the same with the back panels.


* * *
4.
Place the front panels to the back ones wrong sides together, pin them
and machine stitch along the sides and the 2 diagonal edges.


* * *
5. On both side edges of the lid cut the previously completed zigzag stitch so you could close the stitch.


* * *
6. Pin the openings tucking the sides inside, and hand sew them using a thread in the matching colour.

* * *
7.
Turn the bag over to the right side, press well and machine stitch all
around it closely to the edges, but leaving the side where the lid folds
unstitched.


* * *
8.
Hand sew the longest chain onto the seam allowances of the sides of the
lid. Use embroidery thread to keep it firmly in place.


* * *
9. Sew the smallest chain onto the lid. Under it, on the front panel, sew the buckle for closing.

* * *
10. Attach the other 2 long chains to the back corner of the bag and form their shapes as you desire.


Comments
Post a Comment
Thanks for visiting and enjoying my blog :)